Quick Answer: A professional HVAC inspection typically includes checking airflow, electrical components, refrigerant levels, thermostat operation, and overall system performance to catch issues early before they turn into larger problems.
Introduction
From the outside, an HVAC inspection can look quick, which is why many homeowners wonder what they are actually getting. A technician arrives, checks a few components, and leaves. Without a clear explanation, it is easy to question whether the system was evaluated thoroughly.
At Newman’s Heating and Cooling, that is a common question. Homeowners want to know what should be checked, what sometimes gets overlooked, and whether the inspection was thorough. A real HVAC inspection is detailed, and understanding what is included makes it easier to tell the difference between a basic visit and a complete evaluation.
Why HVAC Inspections Matter More Than Most Homeowners Realize
HVAC inspections are more than routine maintenance. They help uncover small issues before they grow into more expensive repairs.
Many systems struggle during peak heat or cold because several minor problems have built up over time. In Sacramento’s climate, where HVAC systems often run hard for long stretches, airflow restrictions, dirty coils, and electrical wear can show up sooner.
That is often how larger problems begin. A clogged filter reduces airflow, which increases strain on the blower. Over time, that extra strain can affect performance and lead to avoidable wear.
Following a regular HVAC maintenance schedule helps catch these issues before they stack up.
Complete HVAC Inspection Checklist (What Technicians Actually Check)
A proper inspection follows a clear process. It is not random, and it should not feel rushed. Each part of the system is checked for performance, safe operation, and early signs of wear.
System Startup and Thermostat Testing
- Thermostat accuracy and responsiveness
- System startup and shutdown operation
- Temperature consistency during operation
If the thermostat is not reading correctly, the entire system can run off-target. That can lead to uneven temperatures, short cycling, or longer run times than necessary.
Airflow and Filter Inspection
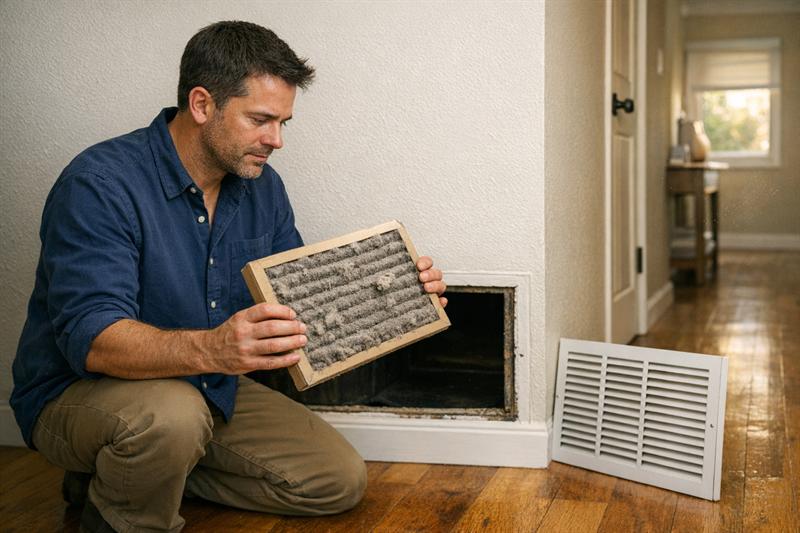
- Air filter condition and replacement needs
- Airflow restrictions throughout the system
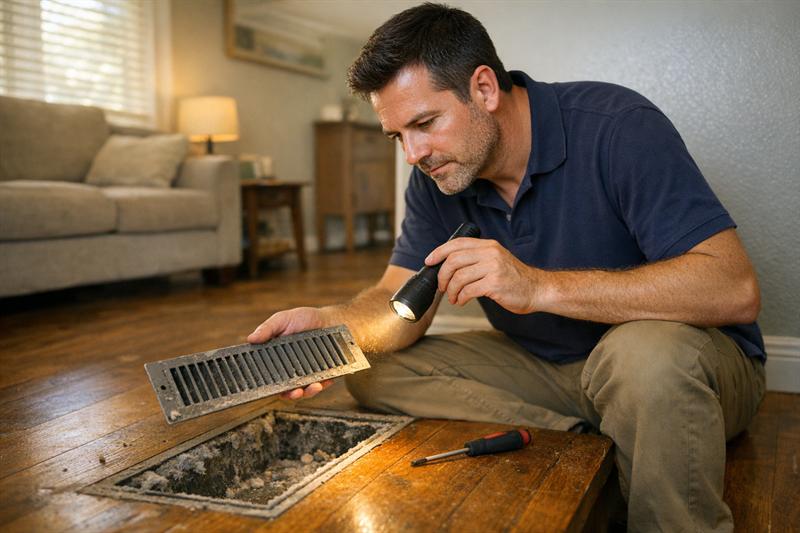
- Vent and register performance
This is one of the most common trouble spots. Restricted airflow is closely tied to issues like why your AC isn’t cooling properly, and it usually gets worse the longer it is ignored.
Electrical Components and Connections
- Wiring condition and connections
- Capacitors and relays
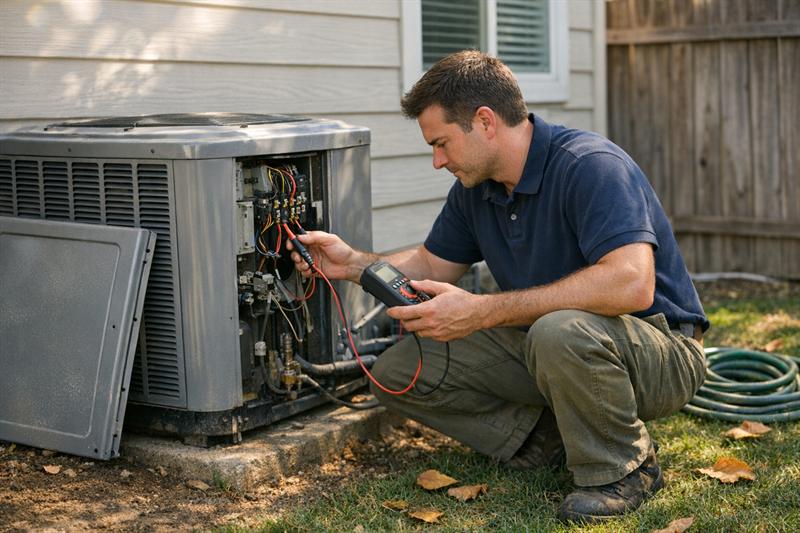
- Voltage and current checks
This is where hidden problems often develop. Loose or worn electrical parts can cause inconsistent operation, reduced efficiency, and unexpected shutdowns.
Refrigerant Levels and Cooling Performance
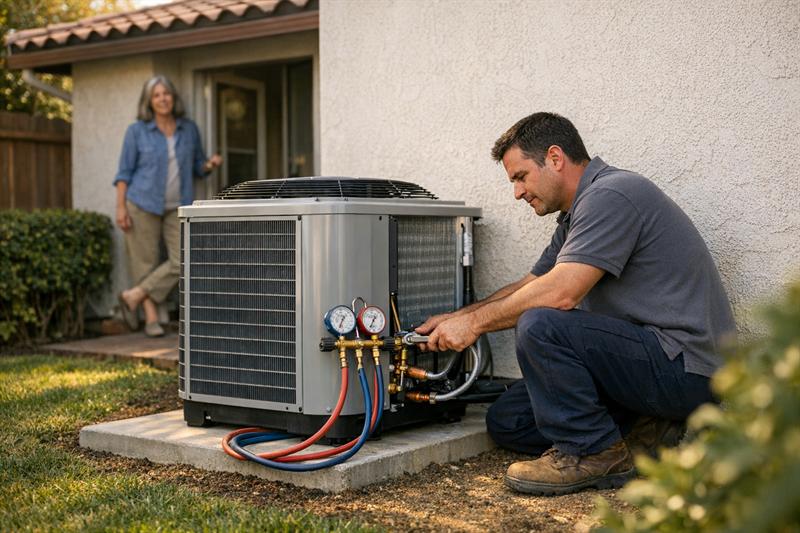
- Refrigerant pressure levels
- Signs of leaks
- Cooling performance
Low refrigerant usually points to an underlying issue such as a leak. As refrigerant levels drop, cooling performance declines and the system has to work harder to keep up.
Furnace and Heating System Safety Checks
- Burner operation
- Heat exchanger condition
- Safety control testing
Heating components need to be checked carefully, especially before colder weather. If these areas are skipped, developing problems may go unnoticed until performance drops or the system stops working properly. Learn more about signs your furnace may need repair.
Ductwork and Air Distribution
- Duct leaks and airflow loss
- Insulation condition
- Air balance between rooms
This part of the system is often overlooked, but it has a direct effect on comfort. Uneven temperatures from room to room often trace back to ductwork issues.
Outdoor Unit (Condenser) Inspection
- Coil condition and cleanliness
- Debris buildup around the unit
- Fan operation
Outdoor units in this area can collect dust and debris quickly. That buildup restricts airflow and adds strain to the system over time.
Drain Lines and Moisture Control
- Condensate drain blockages
- Moisture buildup
- Conditions that may contribute to microbial growth
Clogged drain lines can lead to water buildup and system interruptions. This issue is easy to miss until it starts affecting performance or causes water around the equipment.
HVAC Inspection Checklist (Quick Summary)
- Thermostat testing
- Airflow and filter inspection
- Electrical system checks
- Refrigerant level evaluation
- Heating system safety checks
- Ductwork inspection
- Outdoor unit cleaning and testing
- Drain line inspection
What Homeowners Can Check vs What Requires a Professional
Some parts of an HVAC system are easy to see and maintain. Others require tools, training, and hands-on experience.
Homeowners can replace filters, clear debris around the outdoor unit, and check thermostat settings. Those steps help keep the system running, but they do not reveal deeper issues.
Professional inspections go further. Electrical testing, refrigerant checks, and system safety testing require proper equipment. This is where many hidden problems are found.
Trying to evaluate those areas without the right tools often means important issues are missed and allowed to grow over time.
Common Problems Found During HVAC Inspections
- Dirty or clogged air filters restricting airflow
- Low refrigerant levels caused by leaks
- Loose or worn electrical connections
- Duct leaks reducing efficiency
- Worn components nearing failure
Most systems do not fail all at once. In many cases, performance declines gradually before a breakdown happens.
When airflow is restricted, the system runs longer to maintain comfort. Longer run times increase wear, which can eventually lead to overheating or component failure if the problem continues.
If You’re Seeing These Signs, the System Likely Needs Inspection
If your system is behaving differently, it is usually a sign that something inside is no longer operating the way it should.
- Rooms cooling unevenly or taking longer to reach temperature
- System running longer without improving comfort
- Higher energy bills without a clear reason
- Frequent cycling on and off
These changes often point to an underlying issue. At that stage, an inspection is usually the best way to find the cause.
How Often Should an HVAC Inspection Be Scheduled?
Most systems benefit from at least one inspection per year, with additional checks before peak cooling or heating seasons when possible.
Older systems usually need more attention. As components wear down, small issues tend to appear more often and progress faster.
Staying on a regular HVAC maintenance schedule helps keep performance steady and reduces the chance of unexpected problems.
What a Thorough HVAC Inspection Should Feel Like (Transparency Guide)
A proper inspection should be clear and easy to follow. You should know what was checked, what was found, and what it means for your system.
If there is no explanation or documentation, the inspection may have been limited. A thorough service should leave you with a clear understanding of your system’s condition and any recommended next steps.
At Newman’s Heating and Cooling, the goal is straightforward communication so homeowners can make informed decisions about their system.
Conclusion
The real issue is not just major breakdowns. It is the smaller problems that go unnoticed until the system can no longer keep up.
When inspections are skipped or rushed, those issues continue to build. That can lead to higher energy use, reduced comfort, and a greater chance of failure during extreme weather.
A detailed inspection helps change that by identifying concerns early and giving you a clearer picture of your system’s condition.
Newman’s Heating and Cooling focuses on thorough, transparent inspections that go beyond a basic check. If your system has not been evaluated recently or is showing signs of strain, scheduling an inspection is a practical next step.
Key Takeaways
- A professional HVAC inspection follows a detailed checklist, not a quick review
- Most system problems start small and build over time
- Airflow, electrical components, and refrigerant levels are key inspection areas
- Regular inspections can help reduce the risk of costly breakdowns
Frequently Asked Questions
What does an HVAC inspection include?
A professional inspection typically includes airflow checks, electrical testing, refrigerant evaluation, thermostat testing, and heating or cooling system safety checks. These steps help identify performance issues early and give a clearer picture of the system’s overall condition.
How long does an HVAC inspection take?
Most inspections take about 60 to 90 minutes, depending on the system and the level of detail involved. A thorough inspection covers multiple components, not just a quick visual check.
Is an HVAC inspection worth it?
An HVAC inspection can help identify small issues before they become larger problems. Things like airflow restrictions, dirty components, or worn electrical parts tend to worsen over time if they are not addressed.
Can I perform my own HVAC inspection?
You can handle basic tasks like changing filters, checking vents, and clearing debris around the outdoor unit. Deeper checks such as electrical testing, refrigerant evaluation, and internal component inspection are best handled by a trained technician.
How much does an HVAC inspection typically cost?
Costs vary based on system type, location, and how detailed the service is. In general, pricing reflects the time involved and what is included in the inspection.
When is the best time to schedule an HVAC inspection?
The best time is usually before peak heating or cooling seasons. That gives you time to address any issues before the system is under heavy demand.