Quick Answer: The HVAC installation process usually follows a clear sequence: system sizing, removal of the old unit, site preparation, installation, testing, and a final walkthrough. Many performance issues can be traced back to poor sizing or skipped preparation, which can lead to uneven temperatures, higher energy use, and a shorter system lifespan.
Why Understanding the HVAC Installation Process Matters
Many homeowners are told they need a new system, but not what actually happens next. That gap creates uncertainty and makes it harder to judge whether the work is being done thoroughly.
At Newman’s Heating and Cooling, one issue that comes up regularly is replacement work that does not fully account for sizing or ductwork. When that happens, the same comfort problems can continue after the new equipment is installed. Understanding the process upfront helps reduce the chance of repeating those issues.
When important steps are rushed or skipped, the system may not perform the way it should. That can lead to higher operating costs, uneven comfort, and more service calls over time.
Step 1: In-Home Evaluation and System Sizing
Why Proper Sizing Impacts Comfort and Efficiency
The process starts with evaluating how the home handles airflow and temperature. That evaluation helps determine the right system size for the space.
- Square footage and layout
- Insulation levels
- Window placement and sun exposure
- Local climate conditions
A common mistake is replacing a system with the same size without confirming that the original sizing was right. Oversized systems often cycle too quickly, while undersized systems tend to run longer and struggle to keep up.
That imbalance can show up as uneven temperatures, higher utility bills, and constant thermostat adjustments. Proper sizing helps create more stable performance from the beginning.
Step 2: Removing the Old HVAC System
What Homeowners Should Expect During Removal
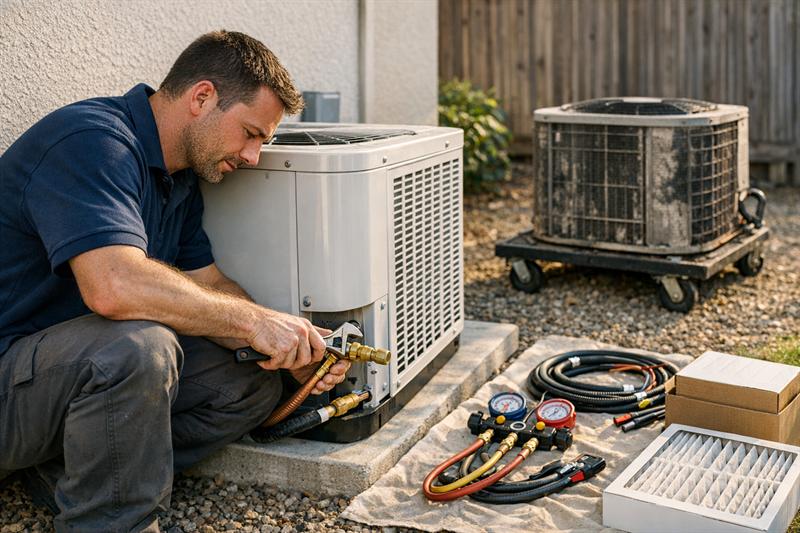
Once the new system is planned, the old equipment is removed. This typically includes disconnecting power and refrigerant lines before taking out the indoor and outdoor components.
- Noticeable noise during removal
- Equipment being moved through the home
- Temporary loss of heating or cooling
- Removal and disposal of old parts
Access becomes important at this stage. Tight spaces or blocked areas can slow the process and extend downtime.
Step 3: Preparing the Installation Area
Ductwork Inspection and Necessary Adjustments
This step has a major impact on long-term performance and is easy to underestimate. Before installing new equipment, the system it will connect to should be checked carefully.
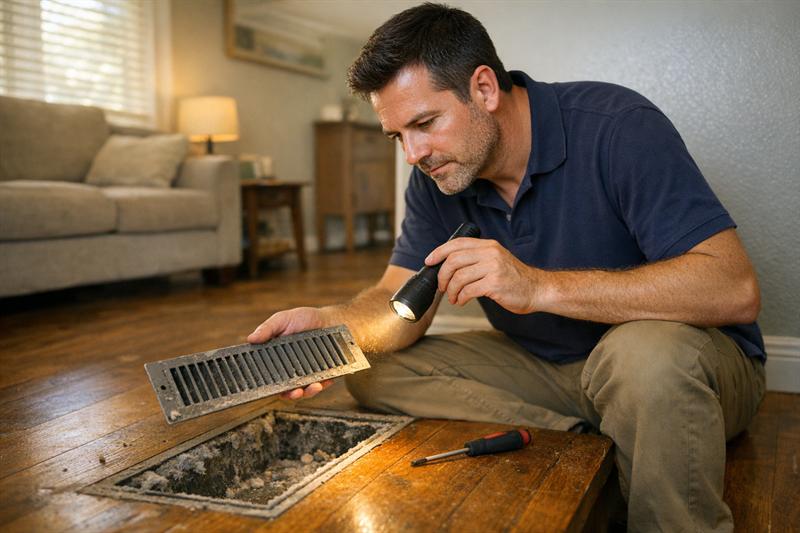
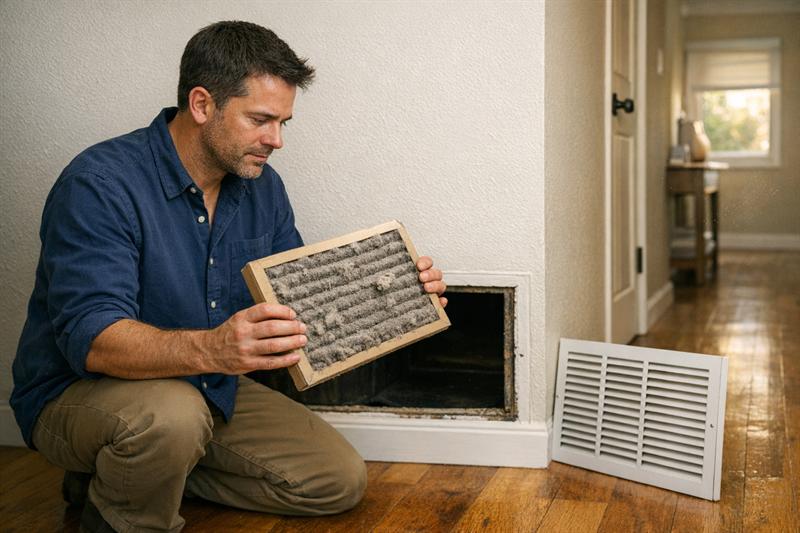
- Inspecting ducts for leaks or damage
- Adjusting airflow where needed
- Confirming electrical readiness
- Preparing a stable base for the outdoor unit
When ductwork is ignored, airflow can become uneven and the system may have to work harder than necessary. That often shows up as hot and cold spots or longer run times.
Step 4: Installing the New HVAC System
Key Components Being Installed
With preparation complete, the new system is installed and connected.
- Indoor unit, such as a furnace or air handler
- Outdoor unit, such as a condenser or heat pump
- Thermostat setup or upgrade
- Refrigerant lines and electrical connections
Small details matter here. Loose connections, poor sealing, or misaligned components can lead to airflow problems or inconsistent temperatures. These issues may not be obvious right away, but they often affect performance over time.
Step 5: System Testing and Calibration
Airflow, Temperature, and Safety Checks
After installation, the system is tested to confirm that it is operating correctly.
- Checking airflow across rooms
- Calibrating thermostat settings
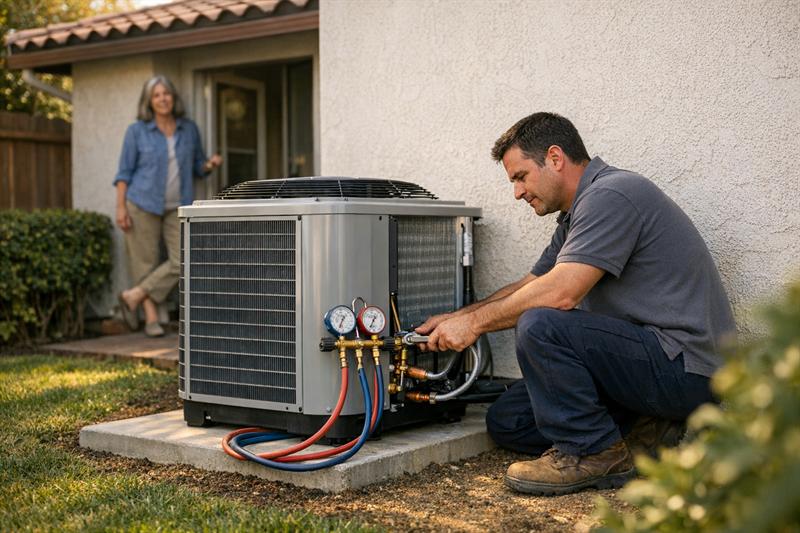
- Verifying refrigerant levels
- Running safety checks
This step helps confirm that the equipment and airflow are working together as expected. When testing is rushed, early performance issues are more likely to appear in the first few weeks.
Step 6: Final Walkthrough and Homeowner Guidance
What Technicians Should Explain Before Leaving
Before the job is finished, the system should be reviewed with the homeowner so it can be used correctly from day one.
- Thermostat operation
- Filter replacement timing
- Basic maintenance needs
- Warranty details
When this step is skipped, simple operating mistakes can lead to avoidable wear and reduced efficiency.
How Long Does HVAC Installation Take?
Most installations are completed within one to two days. Straightforward replacements usually move faster, while homes that need ductwork or electrical updates can take longer.
- System type and complexity
- Condition of existing ductwork
- Home size and layout
Delays often come from preparation issues or conditions discovered during the installation.
How to Prepare Your Home Before Installation Day
- Clear access to indoor and outdoor units
- Move items near work areas
- Secure pets away from the workspace
- Plan for temporary loss of heating or cooling
Preparation affects how smoothly the installation goes. When access is limited, the process can slow down and become more disruptive.
Common Mistakes to Avoid During HVAC Installation
- Choosing equipment based only on price
- Skipping ductwork evaluation
- Ignoring system sizing
- Overlooking maintenance requirements
Each of these can lead to performance issues that are more difficult and more expensive to correct later.
If You’re Seeing These Issues, Installation Problems May Be Part of the Cause
If any of the following are happening, something in the installation or system setup may need closer attention:
- Rooms that stay hotter or colder than others
- System runs frequently without reaching comfort levels
- Energy bills rising without a clear cause
- Weak airflow from vents
These signs can point to sizing errors, airflow restrictions, or installation gaps. A detailed inspection can help identify what is affecting performance.
When to Consider Furnace or Heat Pump Installation Instead
Not every home benefits from the same type of system. The right choice depends on how the home is used and how heating and cooling demands change throughout the year.
For homes where heating performance is the main priority, a furnace replacement may be the more direct option. For homes looking for combined heating and cooling in one system, a heat pump may be worth considering.
Problems often start when a system is selected without a clear understanding of how it will perform in the home. That mismatch can put more strain on the equipment and lead to faster wear over time.
Conclusion
The HVAC installation process is not just about setting new equipment in place. Problems tend to start when sizing, ductwork, or testing are overlooked. That can leave a system struggling to maintain comfort and costing more to operate.
When the installation is handled correctly, many of those issues can be avoided from the start. When key steps are missed, performance problems often show up early and may require additional work to correct.
Newman’s Heating and Cooling focuses on getting each step right, from the initial evaluation through final testing. That approach helps reduce the common problems that can show up after installation.
If you are planning to replace your system, the next step is a proper evaluation. Learn more or schedule service through HVAC installation services.
Key Takeaways
- The HVAC installation process follows a structured sequence
- System sizing and ductwork directly affect performance
- Most installations take one to two days
- Preparation reduces delays and disruption
- Testing helps confirm safe and efficient operation
FAQ
How long does an HVAC installation take?
Most installations take one to two days. Simple replacements are often completed in a day, while more complex jobs can take longer because of ductwork or electrical updates. A proper evaluation helps set expectations more accurately.
What should be done before HVAC installation day?
Clear access to work areas and prepare for temporary downtime. Move items near the equipment and secure pets. When preparation is handled early, installation usually moves more efficiently.
Is HVAC installation disruptive to daily life?
Some disruption is expected. There may be noise, limited access to certain areas, and a temporary loss of heating or cooling. Planning ahead can help minimize the inconvenience.
Do HVAC installers replace ductwork too?
Ductwork is often inspected during installation and may be repaired, adjusted, or replaced if needed. Addressing duct issues can improve airflow and overall system performance.
How is the right HVAC system size determined?
System size is determined by evaluating the home’s layout, insulation, windows, and local climate conditions. Proper sizing supports more consistent temperatures and efficient operation.
What happens after the HVAC system is installed?
After installation, the system is tested, calibrated, and reviewed with the homeowner. This usually includes airflow checks, thermostat setup, and basic maintenance guidance.